
How to Certify Copper Cabling for Network Performance
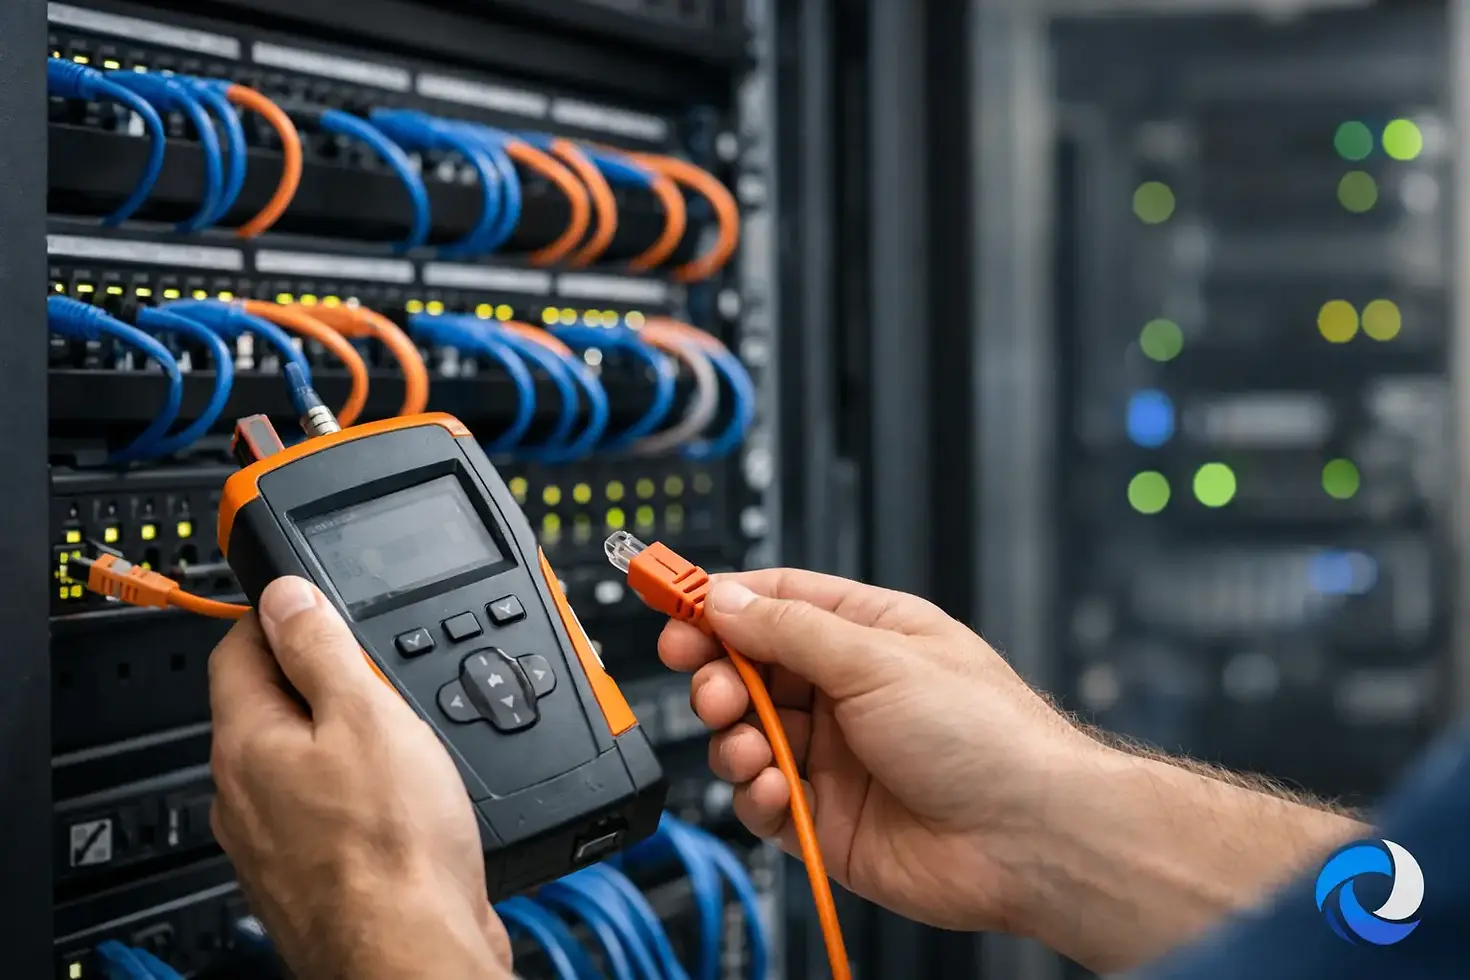
A new cable run can look flawless, tone out correctly, and still fail when a switch port negotiates at 1 GbE or 10 GbE. That is why knowing how to certify copper cabling matters to network teams, integrators, and facilities managers. Certification verifies that an installed structured cabling link meets a defined performance standard, producing evidence that the infrastructure can support the applications it was designed to carry.
For a hospital, campus, warehouse, or enterprise office, this is more than an installer handoff. Certified cabling reduces the risk of intermittent faults, difficult Wi-Fi access point issues, failed PoE deployments, and expensive troubleshooting after ceilings and walls are closed. The objective is not simply to get a PASS result. It is to create a documented baseline for reliable network performance.
Certification Is Not the Same as a Continuity Test
Copper test terminology is often used loosely, but the distinction affects project acceptance and long-term risk. A basic verifier checks wiremap, continuity, opens, shorts, and split pairs. It is useful for finding installation mistakes, but it does not prove a link will meet Category 6A or Category 6 transmission requirements.
A qualifier goes further by estimating whether a cable can support a given network technology, such as Gigabit Ethernet. This can be valuable for troubleshooting existing infrastructure where the cable category or installation history is unknown. Qualification is often faster, but it is not a substitute for certification on new builds or warranty-driven projects.
A cable certifier measures the electrical performance of the link against recognized standards, such as ANSI/TIA or ISO/IEC limits. It evaluates critical parameters including insertion loss, return loss, near-end crosstalk, alien crosstalk where applicable, propagation delay, delay skew, and DC loop resistance. The resulting report provides defensible evidence that the installed channel or permanent link meets the selected standard.
Start With the Required Standard and Test Configuration
Certification begins before the first test lead is connected. The tester must be configured for the infrastructure that was specified and installed. Selecting a lower category limit simply because it delivers an easy pass defeats the purpose of the test.
Confirm the cabling system category, connector type, and intended application. For example, a Category 6A permanent link may be installed to support 10GBASE-T and high-power PoE to wireless access points, cameras, or other edge devices. Testing it against a Category 6 limit will not validate the performance the organization paid for.
The most common configuration choices include:
Permanent link testing, which measures the fixed horizontal cabling from the patch panel to the work-area outlet.
Channel testing, which includes the permanent link plus patch cords at both ends.
TIA or ISO/IEC limits, selected according to the project specification, regional requirements, and manufacturer warranty conditions.
Correct adapter and cord type, matched to the tester and the installed cabling category.
Permanent link testing is commonly used for new construction because patch cords are replaceable items and are often supplied separately. Channel testing may be appropriate when the completed channel, including cords, is part of the delivered solution. The correct choice depends on the specification, so it should be agreed upon before field testing begins.
Use a Calibrated Certifier and Clean Reference Cords
A field tester is only as trustworthy as its condition, software, and test accessories. Use a recognized copper cable certifier that supports the required category and standard. Keep firmware current, verify the unit is within its calibration interval, and inspect both main and remote test adapters before starting work.
Reference cords deserve particular attention. They experience frequent bending, pulling, and repeated mating cycles, and a damaged cord can cause a marginal or failed test that is not related to the installed link. Replace worn or questionable cords rather than spending hours diagnosing a cable that is actually sound.
Before testing, inspect the patch panel, outlet, and exposed cable path. Look for incomplete termination, damaged jack contacts, excessive untwisting at terminations, crushed cable, sharp bends, poor cable support, and cables tied too tightly. Copper performance is sensitive to installation practices, especially at Category 6A frequencies. A neat-looking pathway does not guarantee compliant geometry inside the cable bundle.
How to Certify Copper Cabling in the Field
Connect the main unit at one end of the link and the remote at the other using the correct permanent link or channel adapters. Confirm that the tester identifies the intended limit, cable type, and test configuration before running the measurement. On larger projects, establish a consistent naming convention first, not after hundreds of records have been saved.
A practical identifier should tie the test result to the actual installed location. It may include building, floor, telecommunications room, rack, patch panel, port, and outlet number. The label on the cable, patch panel, outlet faceplate, and certification record should all align. Inconsistent naming is one of the fastest ways to turn a valid test database into a difficult acceptance package.
Run the automated certification test and review more than the overall PASS or FAIL status. A pass with very little headroom may be acceptable under the selected standard, but it can be worth investigating on high-value links, dense cable bundles, or locations expected to support future 10 GbE and PoE demands. Margin is not a contractual requirement unless specified, yet it can reveal installation practices that deserve attention.
For Category 6A systems, consider whether alien crosstalk testing is required by the project specification or cabling manufacturer. Alien crosstalk is noise coupled from neighboring cables rather than pairs within the same cable. It can be particularly relevant in high-density bundles and 10GBASE-T deployments. Some modern test approaches use representative sampling or field methods defined by the selected standard, rather than testing every possible cable-pair combination. Follow the warranty and acceptance requirements rather than assuming one approach applies to every project.
Diagnose Failures Before Retesting
When a link fails, avoid the temptation to rerun the same test repeatedly. Use the certifier's diagnostics to identify the failed parameter and approximate distance to the fault. This turns certification from a pass/fail exercise into a troubleshooting tool.
A wiremap failure often points to a mis-terminated pair, reversed conductors, an open, a short, or a split pair. Split pairs can be especially deceptive because continuity may appear correct while data performance is severely compromised. Re-terminate both ends according to the jack manufacturer's instructions, preserving pair twist as close to the termination point as possible.
Insertion loss failures can result from excessive cable length, poor-quality components, damaged conductors, or unsuitable patch cords in a channel test. Return loss issues frequently indicate connector or termination problems, including poor seating, excessive untwist, or incompatible components. Crosstalk failures may be caused by installation damage, tight bundling, improper termination, or a cable that has been compressed or bent beyond its rating.
Do not overlook component compatibility. A channel is a system, not just a spool of horizontal cable. Mixing unverified jacks, panels, cords, and cable categories can compromise performance and may affect the availability of a manufacturer-backed system warranty.
Build an Acceptance Package That Operations Can Use
A completed certification project should produce more than screenshots from a handheld tester. Export the full test database and provide reports in a format that can be reviewed, archived, and searched later. Include the selected test limit, overall result, measured parameters, headroom, cable length, tester model, software version, and calibration status.
The package should also include a cable schedule or identifier map, floor plans or outlet location references where appropriate, and a clear record of exceptions. If a link was tested as a channel rather than a permanent link, state that clearly. If a cable was remediated and retested, retain the final passing result and document the change when project procedures require it.
For operations teams, this documentation becomes a valuable baseline. When a user reports intermittent connectivity months later, the network team can distinguish between a likely active-equipment issue and a physical-layer concern. It also supports moves, adds, changes, warranty claims, and future upgrade planning.
Plan Certification Around the Network You Are Building
The right copper certification workflow depends on the environment. A small office refresh may require straightforward Category 6 permanent link testing. A university, healthcare facility, distribution center, or high-density enterprise deployment may need Category 6A validation, PoE-focused assessment, detailed labeling, and disciplined documentation across thousands of links.
Advanced Network Devices Inc. helps infrastructure teams align testing tools and procedures with the performance requirements of the network, rather than treating certification as an afterthought. The most effective approach is to define standards, acceptance criteria, documentation requirements, and tool readiness before installation is complete. That preparation gives every passing test real operational value when the network goes live.


Comments